TRAINING GUIDE · BROW TECHNIQUES · BY OLHA PO
All three techniques put pigment into the skin to give brows more shape and definition, but each one asks different things of your hands. Powder and ombre brows build soft shading with a PMU machine. Microblading uses a manual handtool to draw fine strokes that look like hairs. This guide compares them from a student’s point of view: what skills each one needs and how to decide where to start.
Written by Olha Po, a licensed cosmetic tattoo artist who has worked professionally since 2016. Olha is the trainer at Cosmetic Tattoo Courses in Forest Hill, Melbourne.
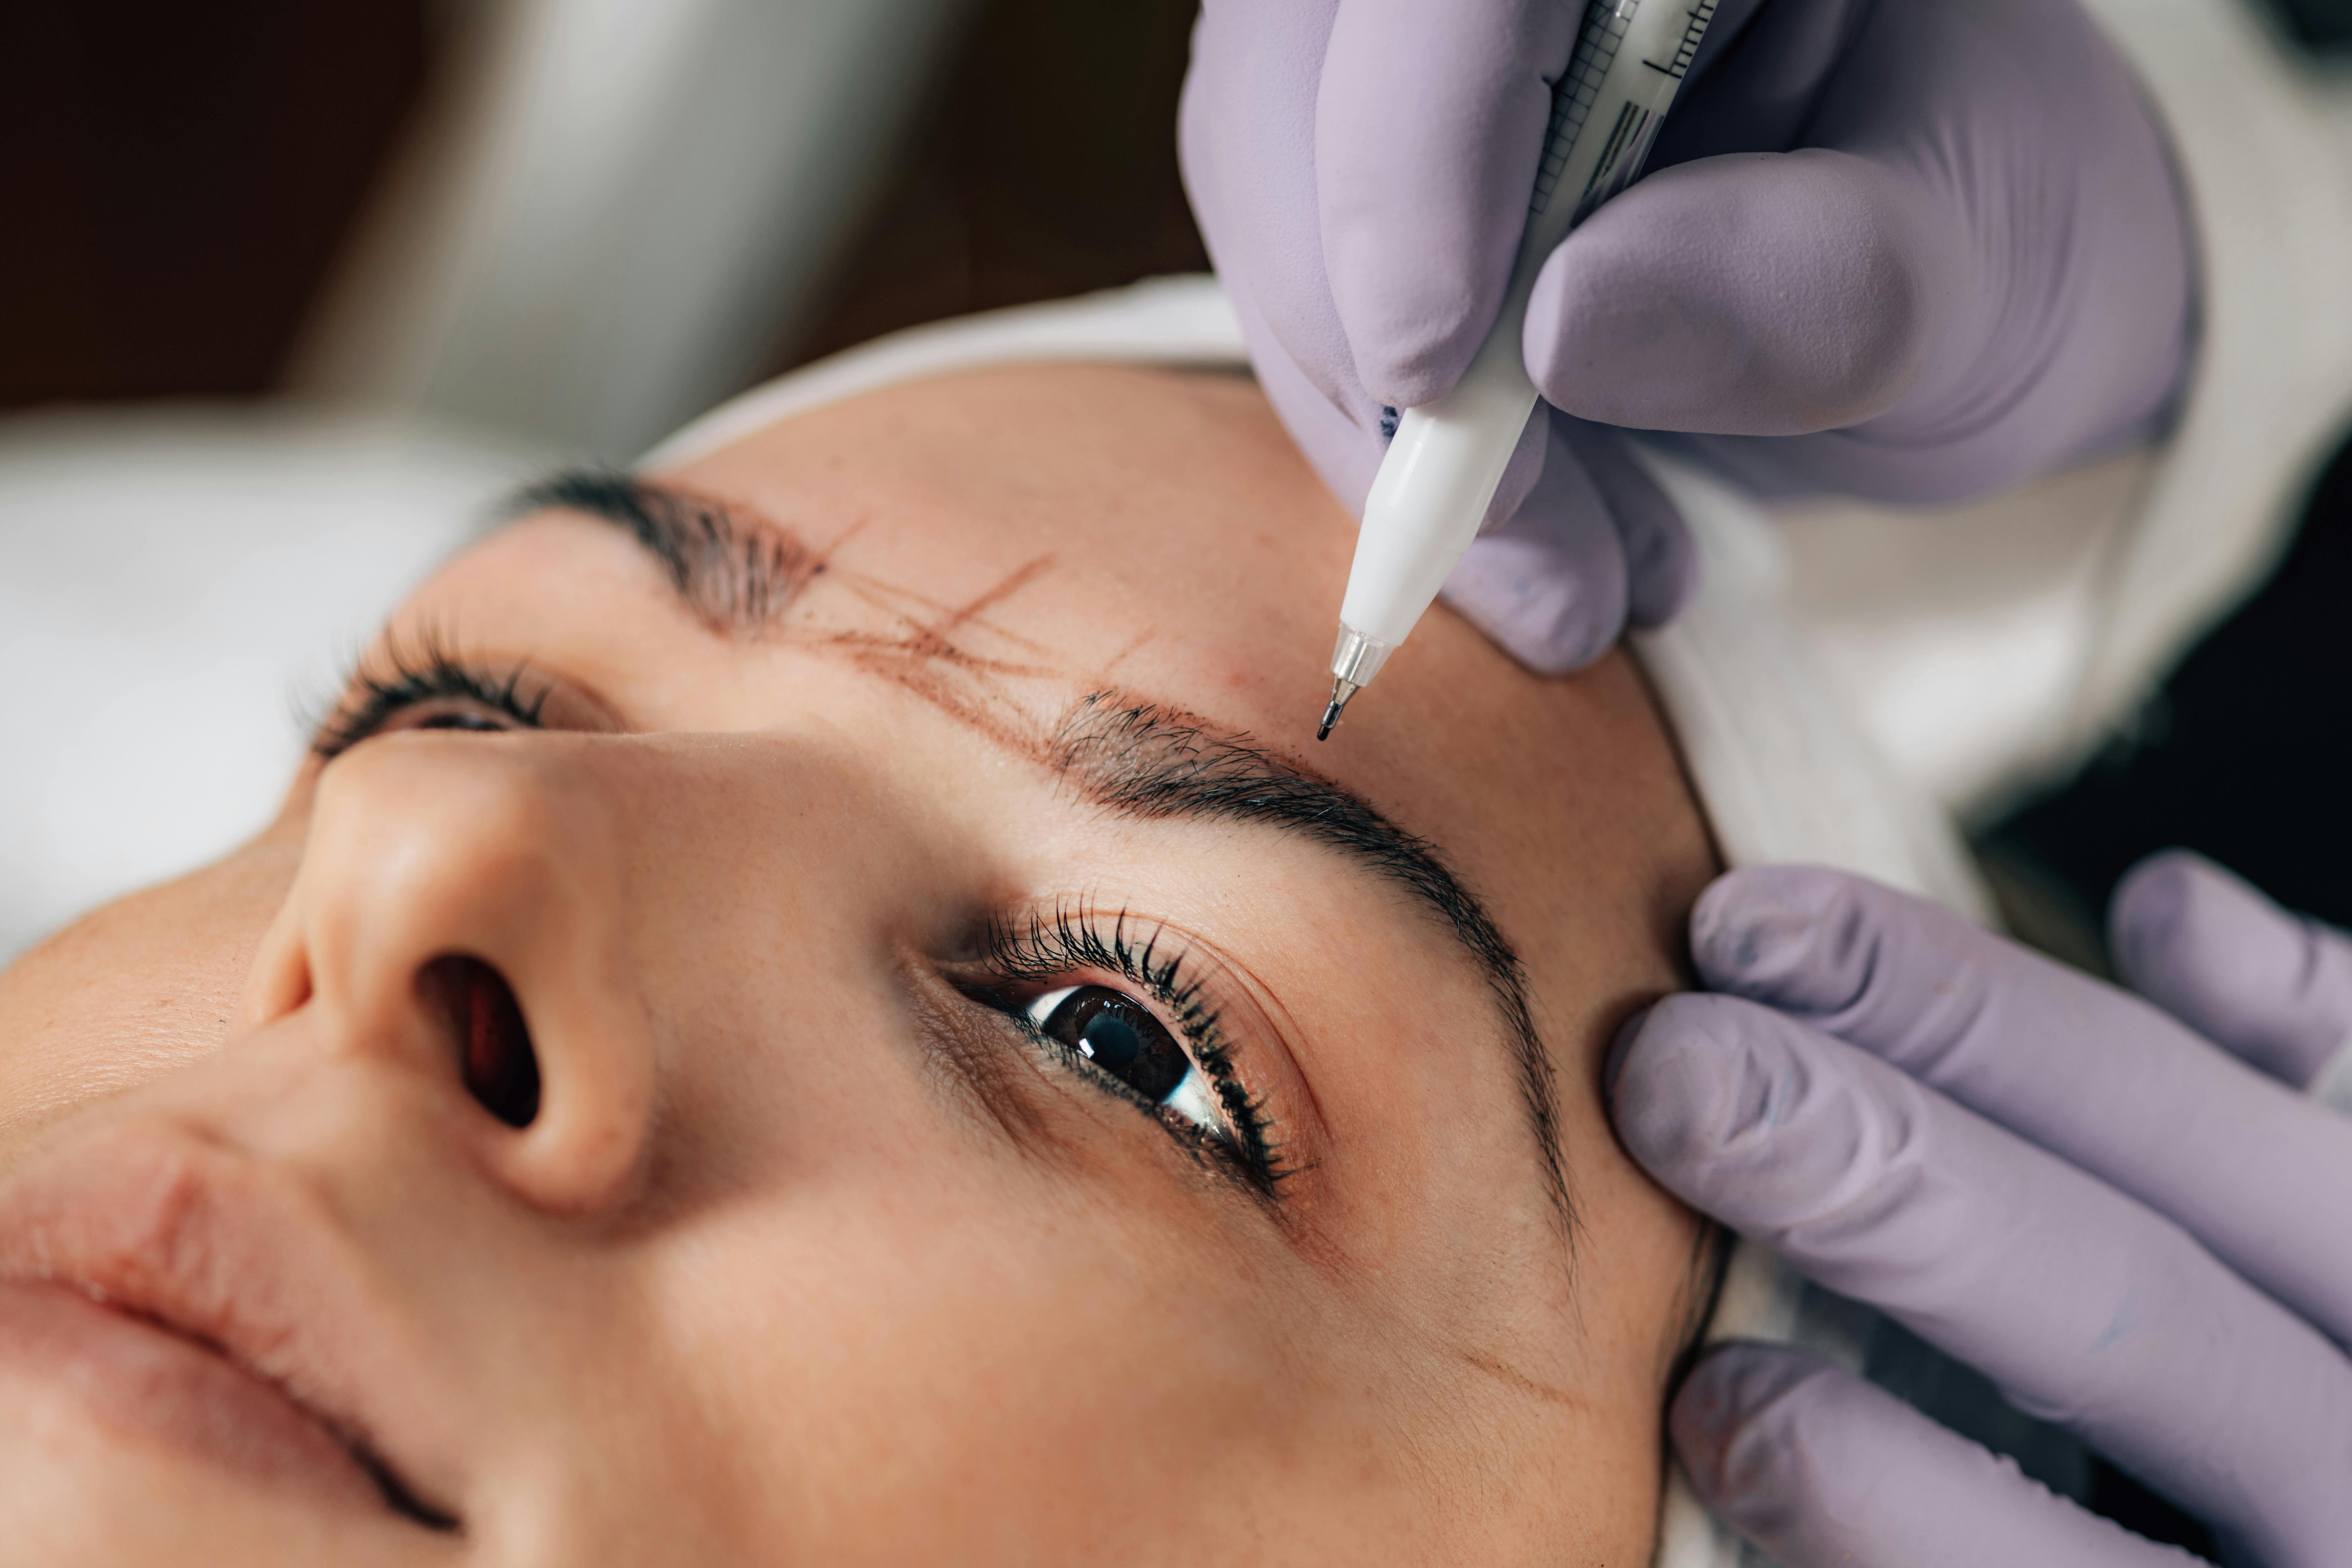
Reference photo: machine work on the brow. This is an illustrative image, not student or client work.
STEP — BEFORE ANY TECHNIQUE
Whichever technique you choose, the work starts the same way. A common misconception is that cosmetic tattooing is just operating a machine and following a design. Before the first dot or stroke, you need to be confident with:
✓ Brow mapping and symmetry
✓ Colour theory and pigment choice
✓ Reading the skin you’re working on
✓ Hygiene and a safe work area
✓ Explaining aftercare clearly to clients
You can read more about these foundations in Before the Needle: How We Teach.
THE COMPARISON
The main difference is the tool and the movement of your hand. The tool you use shapes what you practise, how you build pigment and which mistakes you learn to catch.
TAUGHT IN 01 · EYEBROW TATTOO COURSE
The tool: a PMU machine that places pigment as very fine dots.
What you practise: keeping the shading density even across the whole brow, controlling the machine and keeping your hand speed and skin stretch consistent.
Where patience matters: building colour gradually rather than trying to get depth in a single pass.
TAUGHT IN 01 · EYEBROW TATTOO COURSE
The tool: the same machine used for powder brows.
What you practise: a gradient that starts softer at the front of the brow and becomes more defined towards the tail.
Where patience matters: controlling the change in tone so the fade reads smoothly, without visible bands.
TAUGHT IN 05 · MICROBLADING COURSE
The tool: a manual handtool with a fine blade.
What you practise: designing a stroke pattern that follows the natural direction of the hair, then drawing each stroke separately.
Where patience matters: keeping pressure and depth consistent. You build that skill through repeated practice.
STEP — CHOOSING
There’s no single right order. These four questions can help you narrow it down before you talk it through with us.
A machine-based shading technique is often a practical place to start. The machine handling, mapping and pigment work you learn also apply to lip and eyeliner tattooing.
If you already shape and tint brows, you may have a trained eye for design. The real question is whether you want to add soft machine shading or individual manual strokes.
Some students prefer the direct control of a handtool. Others settle into the steady rhythm of a machine. Both take practice before they feel natural.
Machine skills lead on to the Lip Tattoo Course and the Eyeliner Tattoo Course. If you want broader training, the Cosmetic Tattoo Course Package covers the core techniques together.
BEFORE YOU ENROL
Our brow courses are hands-on practical skills training, taught by Olha in small classes in Forest Hill. They are not university degrees. Completing a course doesn’t guarantee employment, income, independent competency or regulatory approval to practise. Every brow technique carries risks and needs proper training, hygiene and safety precautions. Before you offer treatments commercially, you are responsible for meeting any business registration, insurance, infection control and local regulatory requirements that apply.
For more detail, see Course Information & Student Responsibilities and What a Course Completion Certificate Means.
RELATED READING
Still unsure which technique to start with? Send us a message and we’ll talk through your experience and goals with you.