IN THIS GUIDE
TECHNIQUE GUIDE · BROWS
Powder and ombre brows look soft, but the skill behind them is exact. A student learns to place thousands of tiny pigment dots with a machine, control how densely they sit, and fade colour from the front of the brow to the tail. This guide explains how that is learned, and how it differs from training in microblading.
A powder brow is made from pixelation: fine dots of pigment set closely enough that, once healed, they read as a soft haze of colour rather than lines. Before any of that happens on skin, students practise on latex practice skins. The first drills are simple: a constant hand speed, an even distance from the surface and a light, consistent pressure.
Once the dots land evenly, the work becomes rhythmic. Small pendulum or whip-style movements lay pigment in controlled passes. Each pass adds a little density, so the artist decides how dark a brow becomes by the number of passes, not by pressing harder.
Note — Brow mapping still comes first. Shading only looks natural when the shape has been measured to the face. See the Eyebrow Tattoo Course for how brow design is taught.
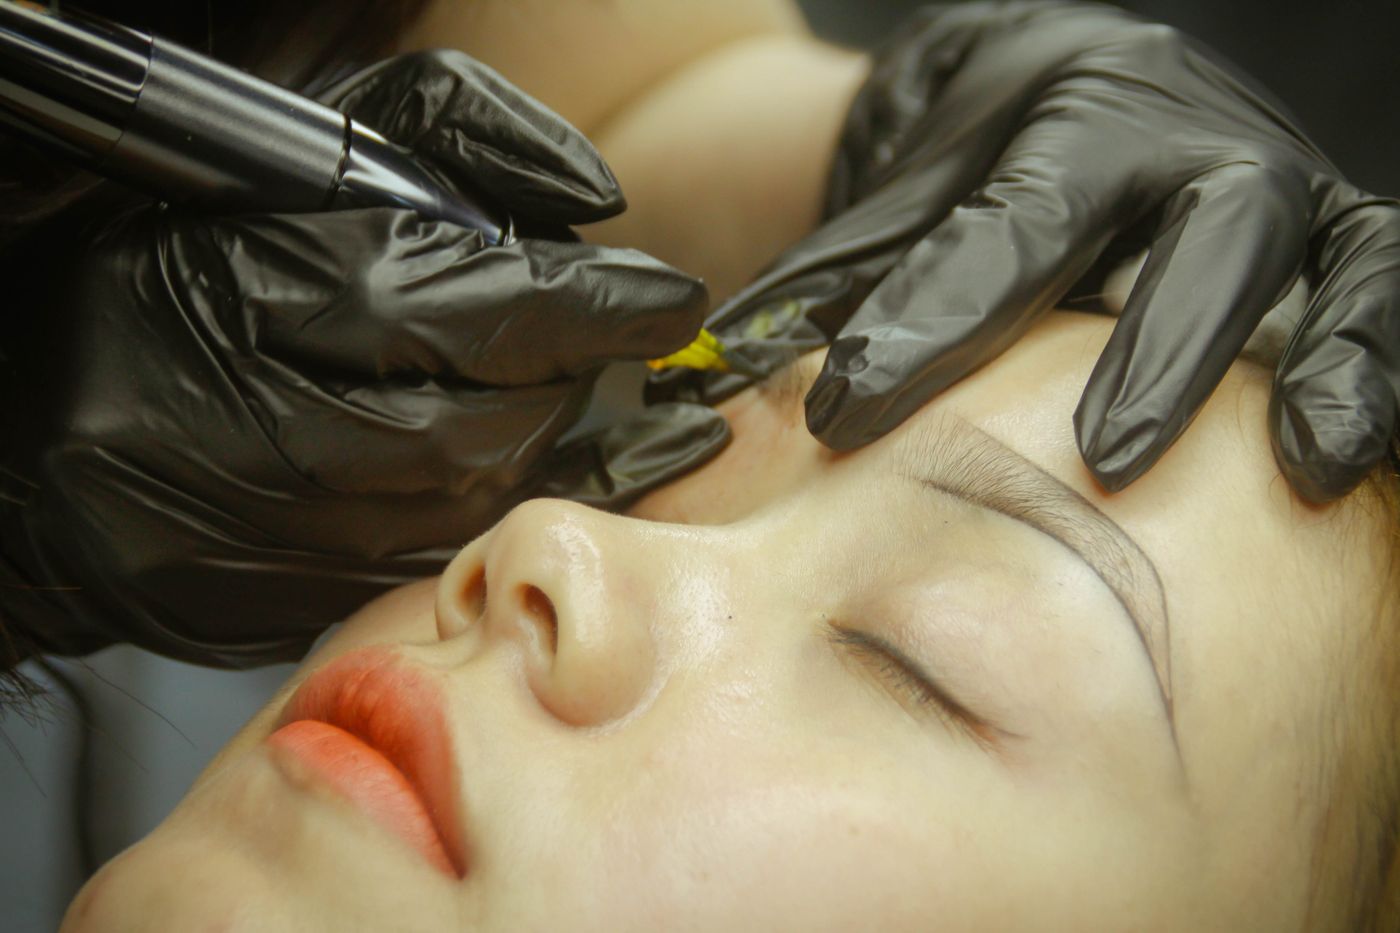
The ombre effect is the part students find hardest. It is learned in three layers of judgement.
III.1
The inner brow is kept airy, with dots set further apart, so the brow starts softly instead of as a hard block of colour.
III.2
Passes build gradually towards the arch. Students learn to stop, step back and check both brows together before adding more.
III.3
The lower edge and tail carry the most definition. Clean edges make a shaded brow look intentional rather than smudged.
Both techniques shape the same feature, but they train different hands. Many artists eventually learn both, so the real question is which one to start with. Our guide to choosing a course walks through that decision.
POWDER & OMBRE
Tool: a cosmetic tattoo machine with a fine needle cartridge.
Mark: dots layered into soft shading.
Core skill: controlling density and fading colour evenly.
Often chosen for: a filled, makeup-like finish that works across many skin types.
MICROBLADING
Tool: a manual hand tool with a row of fine needles.
Mark: individual strokes that imitate brow hairs.
Core skill: stroke direction, spacing and consistent depth.
Often chosen for: a natural, hair-by-hair look, with results that depend strongly on skin type.
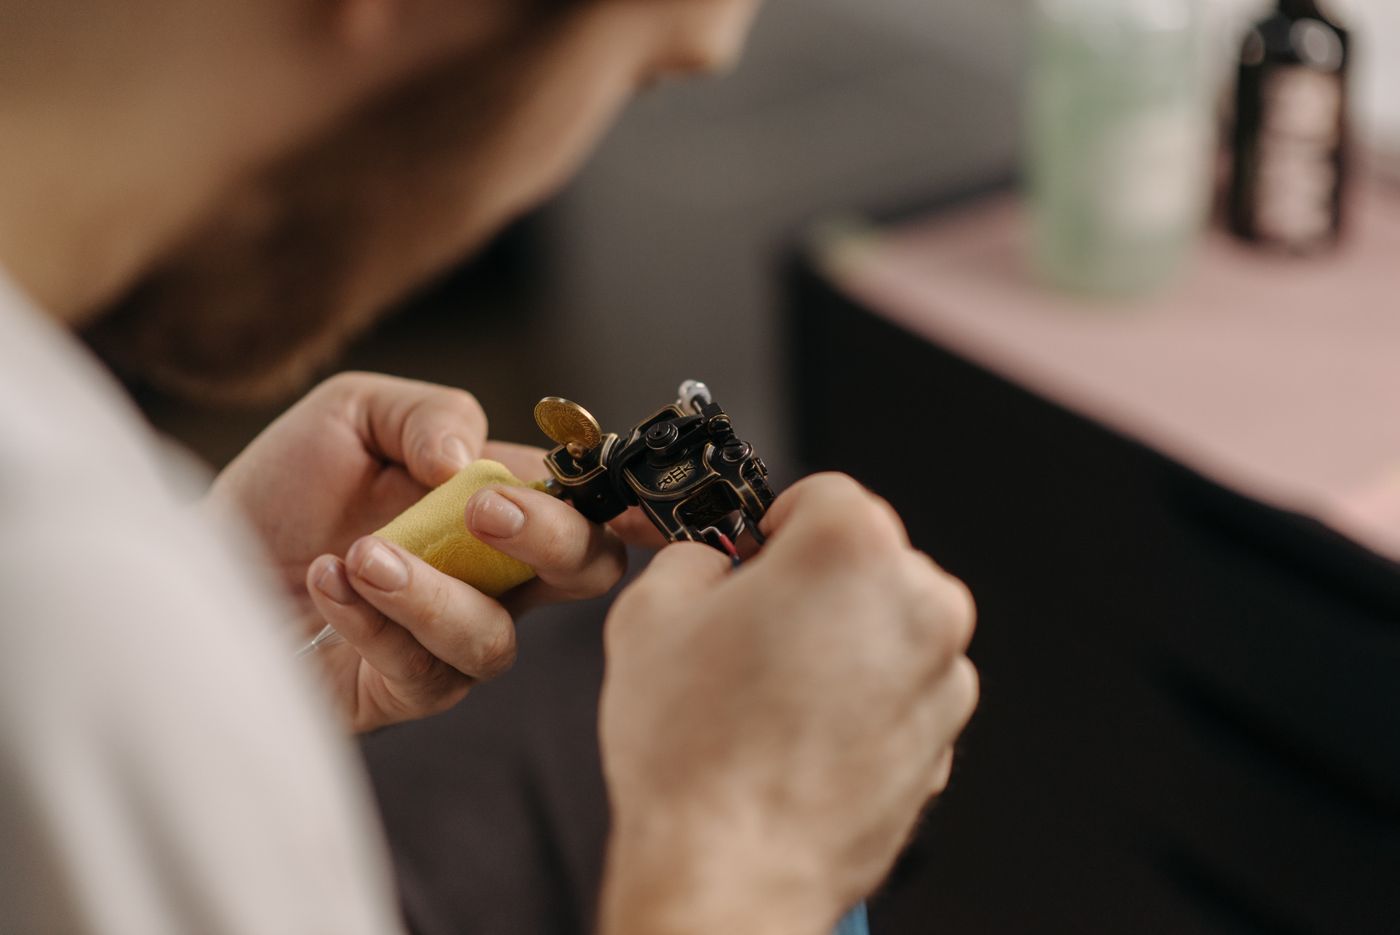
Because powder brows rely on a machine, students spend time learning the equipment as well as the technique: how the grip sits in the hand, how needle cartridges are loaded and disposed of, and how machine speed changes the way pigment lands. A comfortable grip matters more than it sounds, because hand fatigue shows up as uneven shading.
Hygiene belongs to the same lesson. Setting up a clean station, handling single-use parts and working gloved are practised until they become habit. Requirements for skin penetration work vary between states and councils, so check what applies where you plan to work.
For a fuller breakdown of machines, cartridges and set-up, read the Cosmetic Tattoo Equipment Guide.
Powder brows reward patience: even dots, then measured passes, then a gradient you can repeat on both brows. The Powder & Ombre Brows Course page sets out what the program covers. You can also meet our trainers or browse the Student Work Gallery. If you have a question first, use the contact page.