
I
Most progress in cosmetic tattooing happens in the unglamorous hours: setting up a clean station, repeating strokes on a practice skin, and looking honestly at the result. These notes are for current and future students who want to get more out of every class.
NOTES ON THESE PLATES

Arriving ready means your hands are free for the work, not for catching up.
Read the theory first. Skin structure, hygiene and colour basics make far more sense in the studio if you have met the terms beforehand.
Learn your tools by name. Know what a cartridge, blade, ruler and practice skin each do. The equipment guide is a good primer.
Rest your hands and eyes. Fine work needs a steady grip and clear focus. A good night’s sleep shows in your lines.
Bring questions in writing. A short list keeps demonstrations focused on what you actually need to see.
A practice skin will not heal or bleed, but it records every hesitation. Use it as a measuring tool.
Note 1 — Drill before design
Fill whole sheets with single strokes, curves or shading gradients before attempting a full brow or lip shape. Isolated drills show where control slips.
Note 2 — Change one variable
Adjust angle, speed or pressure one at a time and label each row. You will learn cause and effect instead of guessing. Microblading drills benefit especially.
Note 3 — Keep every sheet
Date your skins and store them flat. Comparing week one with week six is the clearest evidence of progress you will have.
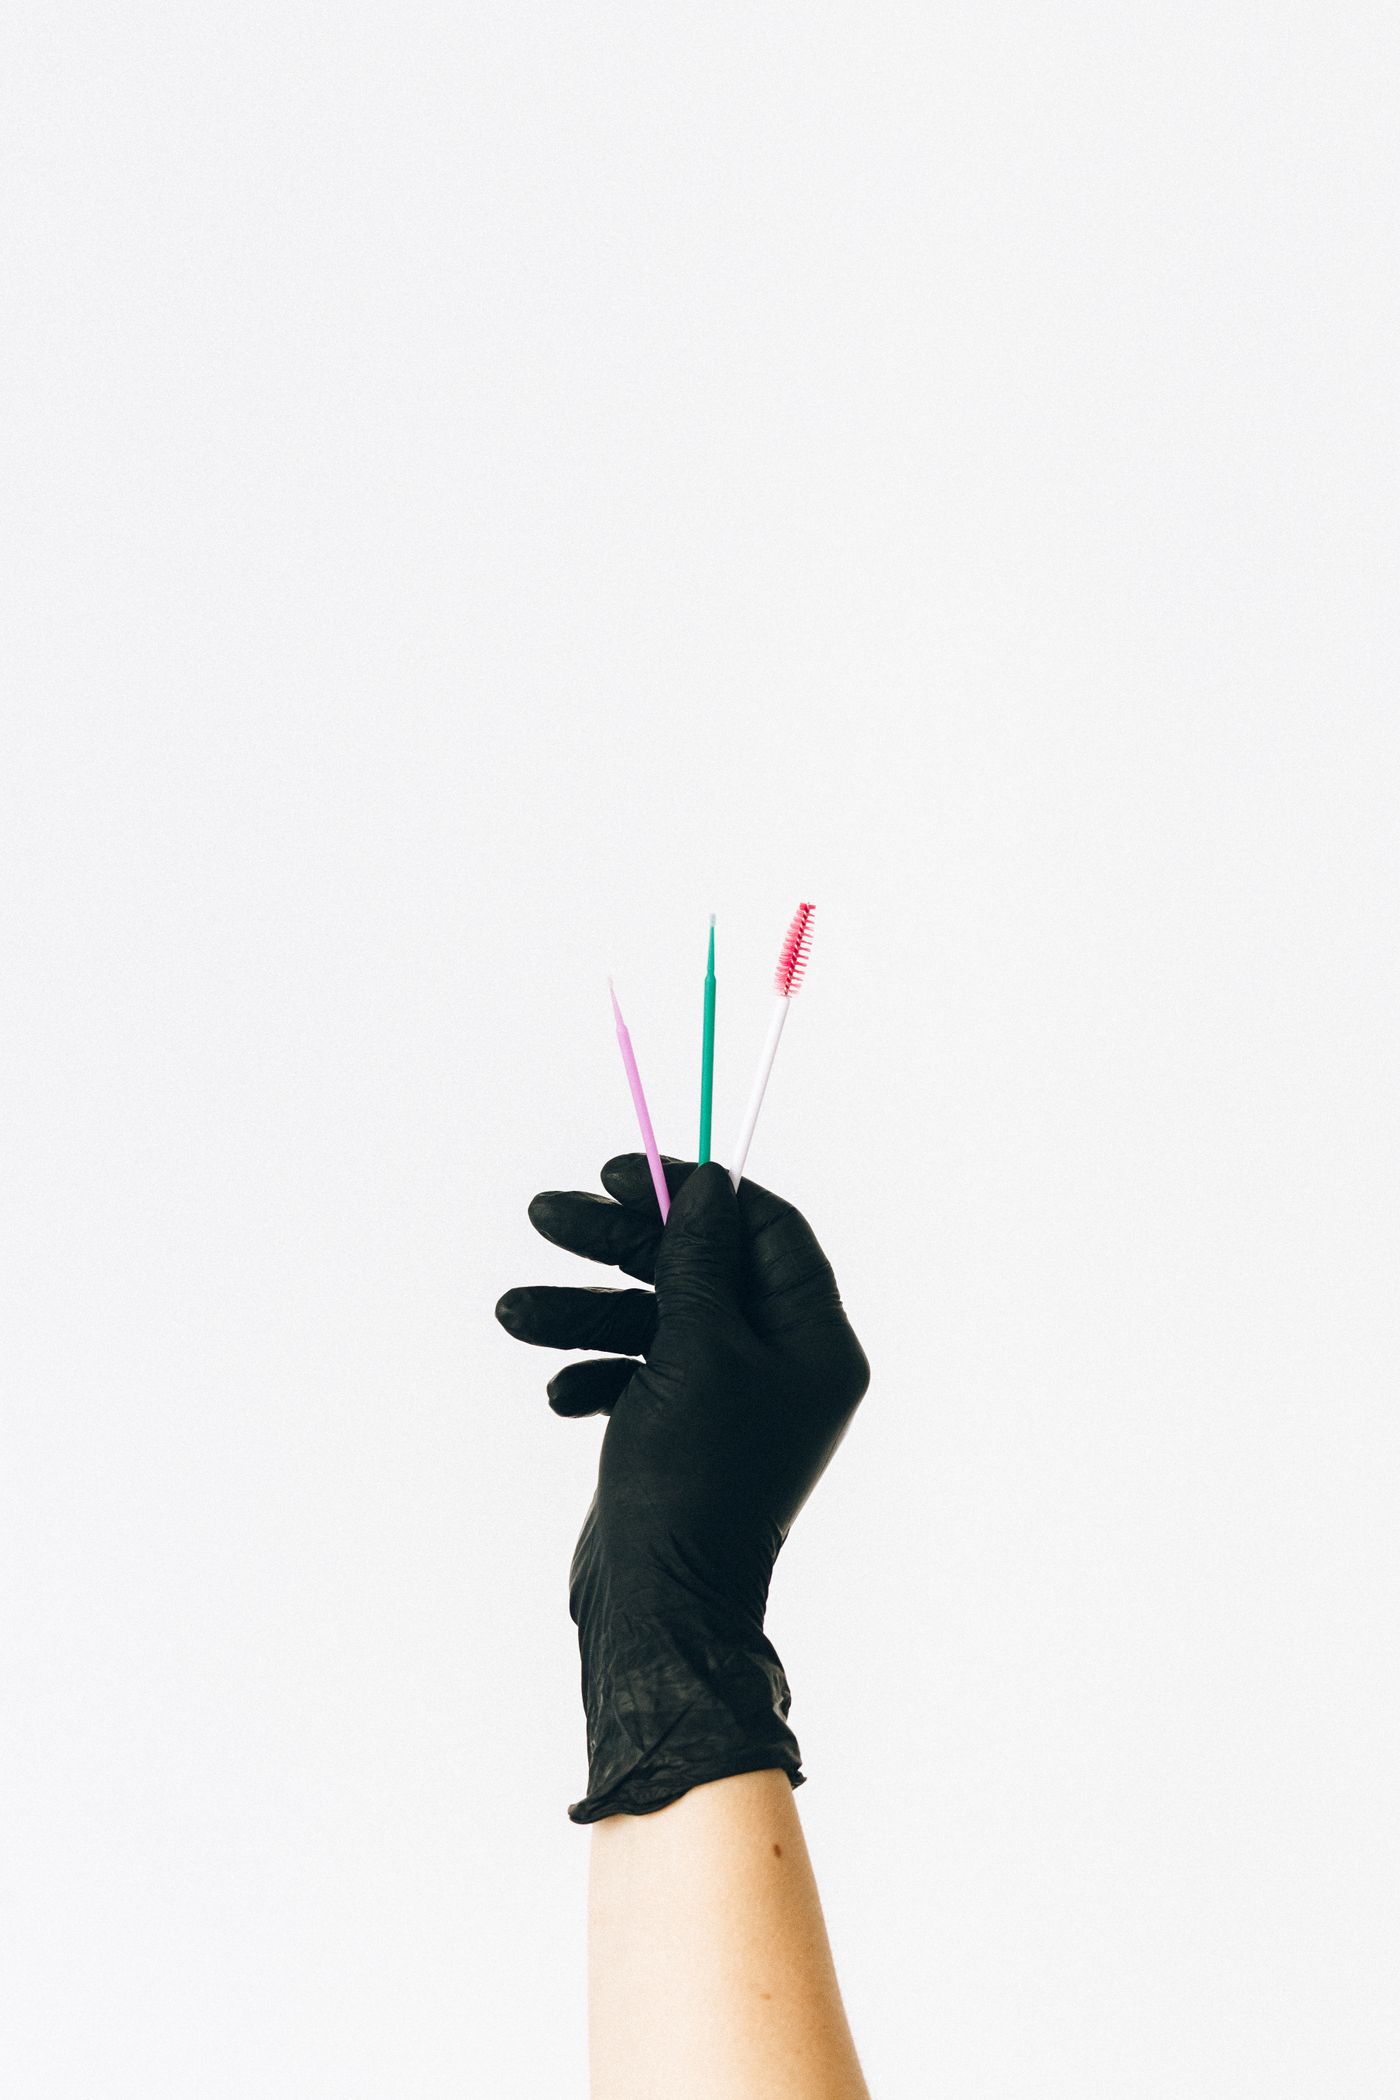
A portfolio is only useful if the photographs are honest and consistent. Treat each image like a figure in a textbook.
Shoot in soft daylight near a window, against a plain background, with no filters. Keep the camera square to the work and at the same distance every time so before and after images line up.
Note whether a photo shows a practice skin or a model, and whether it was taken fresh or healed. Clear captions build trust. See how work is presented in the student work gallery.
V
Q1 Was my posture supported? Anchored wrists and a stable elbow matter more than speed.
Q2 Where did consistency break? Find the exact stroke where spacing or depth changed, and drill that alone next time.
Q3 Did I map before I worked? Symmetry is decided with the pencil, not corrected with pigment.
Q4 What feedback will I act on? Write down one correction from your trainer and make it the focus of your next practice skin.
Short, frequent practice beats occasional marathon sessions. Steady hands come from repetition you can measure, not from pressure to finish.
Ready to put these notes into practice? Compare programs in the courses hub, or send a course enquiry. General questions can go through our contact page.