Powder & Ombre Brows Course: shading built one pass at a time.
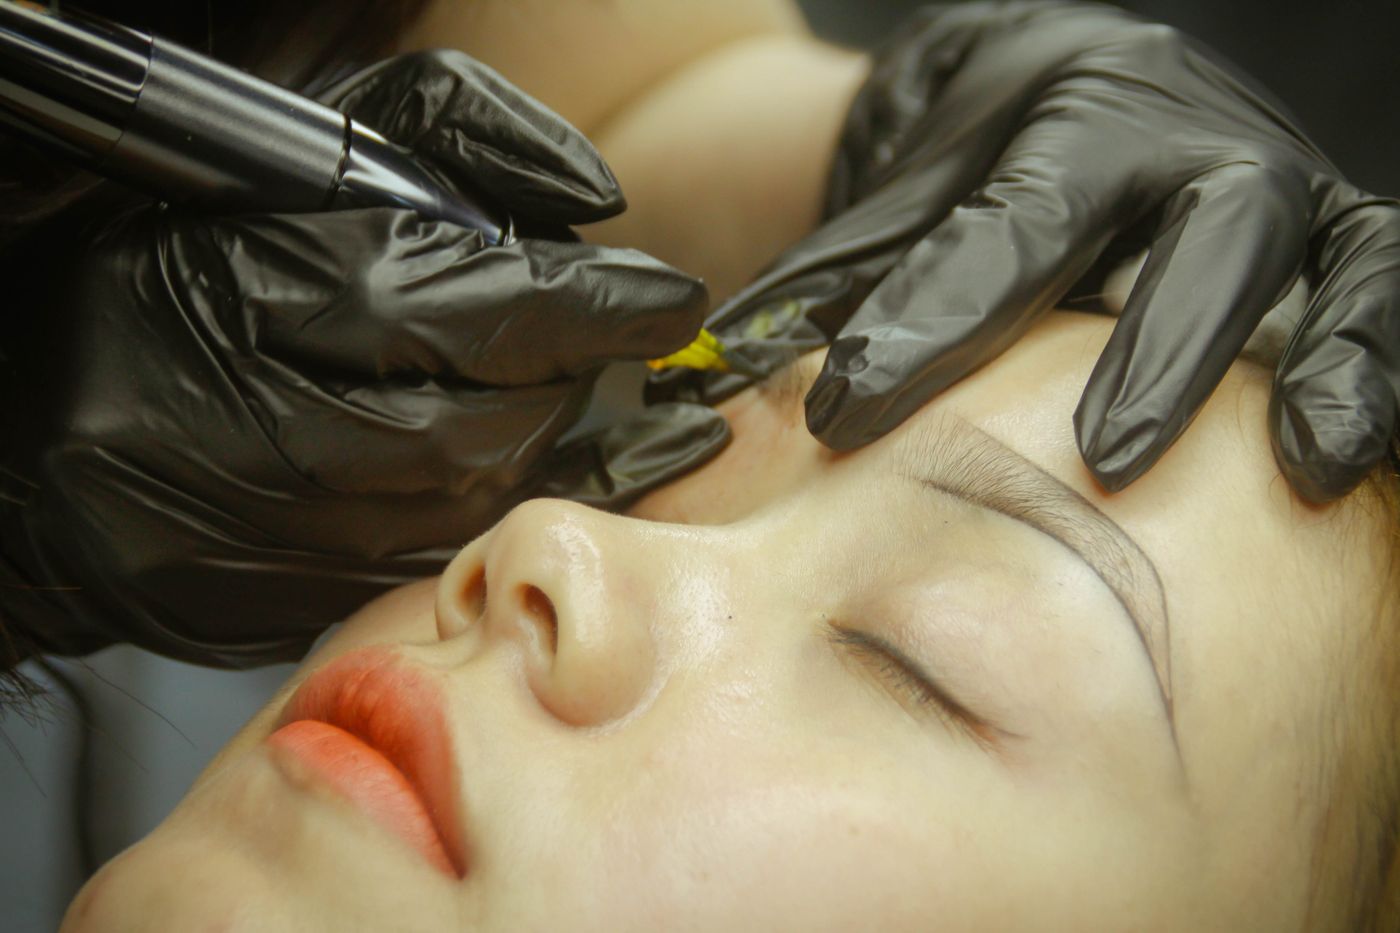
Powder and ombre brows replace hair strokes with a soft, pixelated shade laid down by machine. This course is for artists who want control over gradient: lighter at the front of the brow, denser through the tail, and even from one side to the other.
Shaded brows depend less on a single perfect stroke and more on repetition: needle speed, hand speed and the number of passes decide how much pigment settles in the skin. The course treats the brow as a gradient to be planned before it is worked, starting from mapping and symmetry, then moving to machine handling on practice skins, then to building shade on practice skins.
Both techniques shape the brow. They differ in the instrument, the mark it leaves and the skin it tends to suit.
POWDER & OMBRE
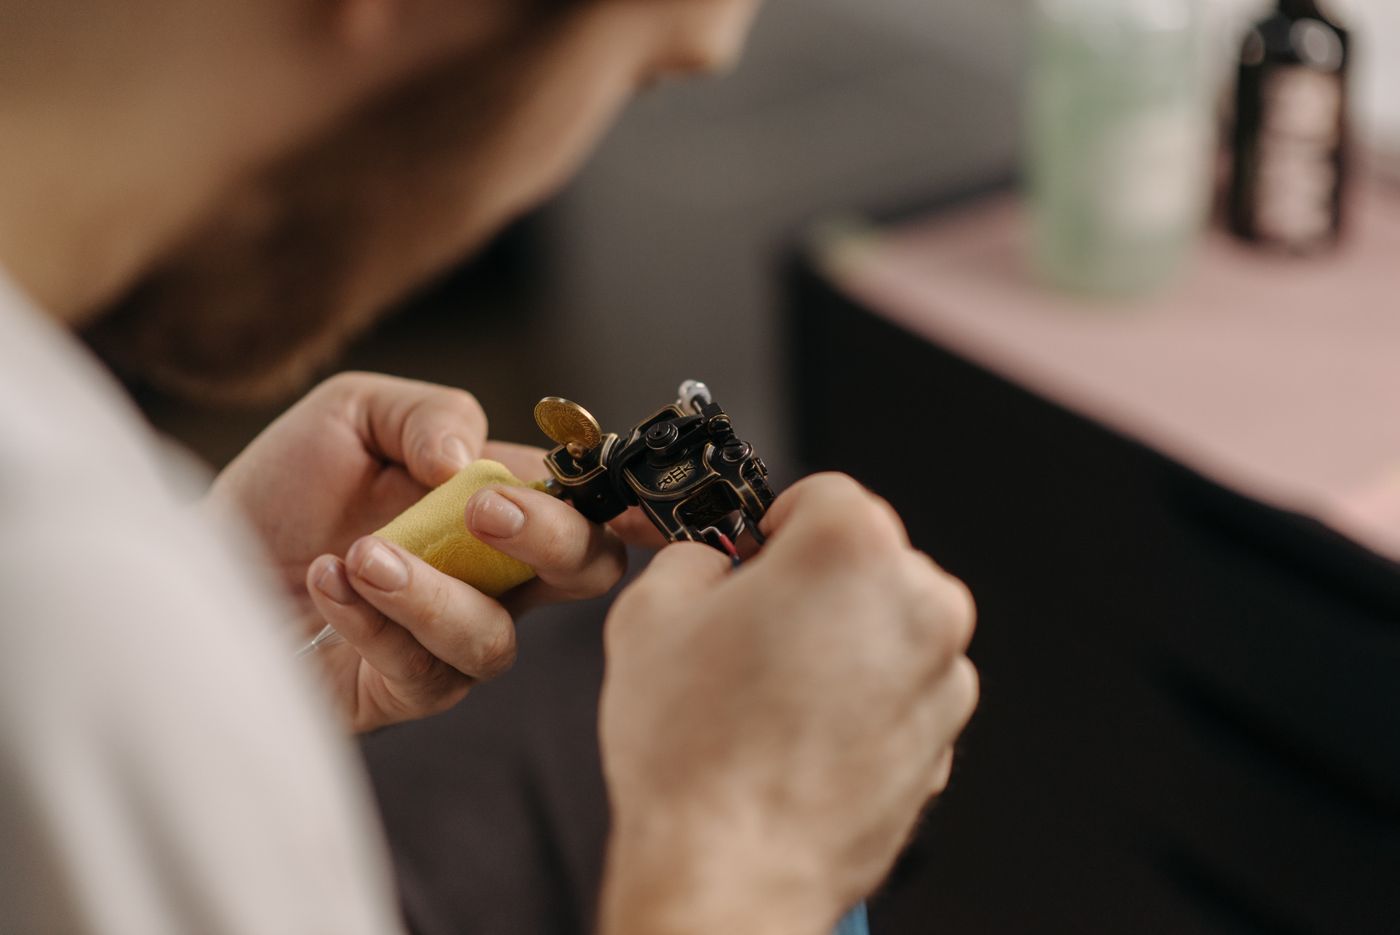
Instrument: a cosmetic tattoo machine depositing fine dots.
Mark: a soft shade, often graduated from a lighter front to a defined tail.
Often suits: oilier or thicker skin, and clients wanting a filled, make-up look.
MICROBLADING
Instrument: a hand tool with a fine blade of needles.
Mark: individual hair strokes that imitate natural brow hair.
Often suits: finer, drier skin and a natural, feathered finish. See the Microblading Course.
Plate IV
Techniques covered
Machine shading
Holding and stretching the skin, needle angle and consistent hand speed so dots land evenly rather than in lines.
Gradient and ombre
Planning where the brow fades and where it deepens, then building that transition in stages instead of forcing it in one pass.
Density control
Reading how skin takes pigment, avoiding overworking, and matching density between left and right brows.
Mapping and colour
Brow mapping for proportion and symmetry, plus choosing pigment tones with skin undertone in mind. Background reading: Powder Brows Training Explained.
Study moves from theory to practice skin. Current dates, duration, format and inclusions are set out when you enquire.
I
Theory
Skin structure, hygiene principles, brow mapping, pigment and colour choice.
II
Practice skin
Shading drills for hand speed, even dot placement and graduated fades before any work on a person.
III
Work on a person
Practice skins come before any work on a person; whether any live-model work is included is confirmed when you enquire.
Plate VI
Trainers, student work and reading
Meet the people who teach brow shading, see genuine brow work from students, and read ahead before you enrol. Questions not covered here are answered in the FAQ or through contact.