
A course is only as good as the person watching your hand. This page explains how trainer profiles at Cosmetic Tattoo Course Australia are set out and what to look for in a trainer: practical experience, the techniques they teach, how they correct a student mid-stroke, and any qualifications. Profiles give verified experience and credentials only, so read each one the way you would read a course outline, before you choose where to start.
Trainer profiles follow the same four parts, so one can be compared against another, and each part carries only details that have been verified. A trainer who has spent years on shaded brows may teach a first course differently from one whose hands learned on hair strokes. A profile is where that difference should be clear.
A.
How long the trainer has practised cosmetic tattooing, the settings they have worked in, and how long they have taught. It is written in their own terms, without rounding up.
B.
The areas of the face they specialise in: brows, lips, eyes or skin. Each area links to the course page it relates to, so you can go straight from a trainer to what they teach.
C.
How they demonstrate, how closely they watch your practice, and how they give correction. Some trainers talk you through every pass. Others let you finish a drill before reviewing it. Knowing which style suits you matters.
D.
Where a trainer holds qualifications, a profile names them in full with the body that issued them, once they have been verified, so you can check each one yourself before you enrol.
BEFORE YOU ENROL
Whoever you train with, the same few checks apply. Ask about each one when you enquire.
Practical experience described plainly, in the technique you want to learn.
A clear account of how they supervise and correct practice on practice skin.
Credentials named in full, with the issuing body, so you can check them yourself.
Genuine student work you can trace back to the course. More questions are in Choosing a Cosmetic Tattoo Course.
Hands-on cosmetic tattoo training usually moves through four stages. The trainer steps back a little at each one, but never out of sight. The order matters: a habit corrected on practice skin never has to be unlearned on a client.
Stage 1
The trainer maps and works while you watch the details that matter: hand position, needle angle, skin stretch and pace. You learn to read the technique before you try it.
Stage 2
You repeat strokes, shading passes or lines on practice skin. The trainer checks direction, spacing and consistent depth, then sets the next drill based on what they see.
Stage 3
Good feedback comes while the needle is still moving: an adjusted grip, a slower hand, a flatter angle. Caught early, a small fault never becomes a habit.
Stage 4
You and the trainer compare the finished work with the original map: symmetry, retention of shape and even colour. The review ends with one clear thing to practise next.
Trainer profiles are organised around the courses each trainer teaches. Start from the technique you want to learn below, then ask who teaches it and what their verified experience is when you enquire.
Comparing several at once? The courses hub sets them side by side.
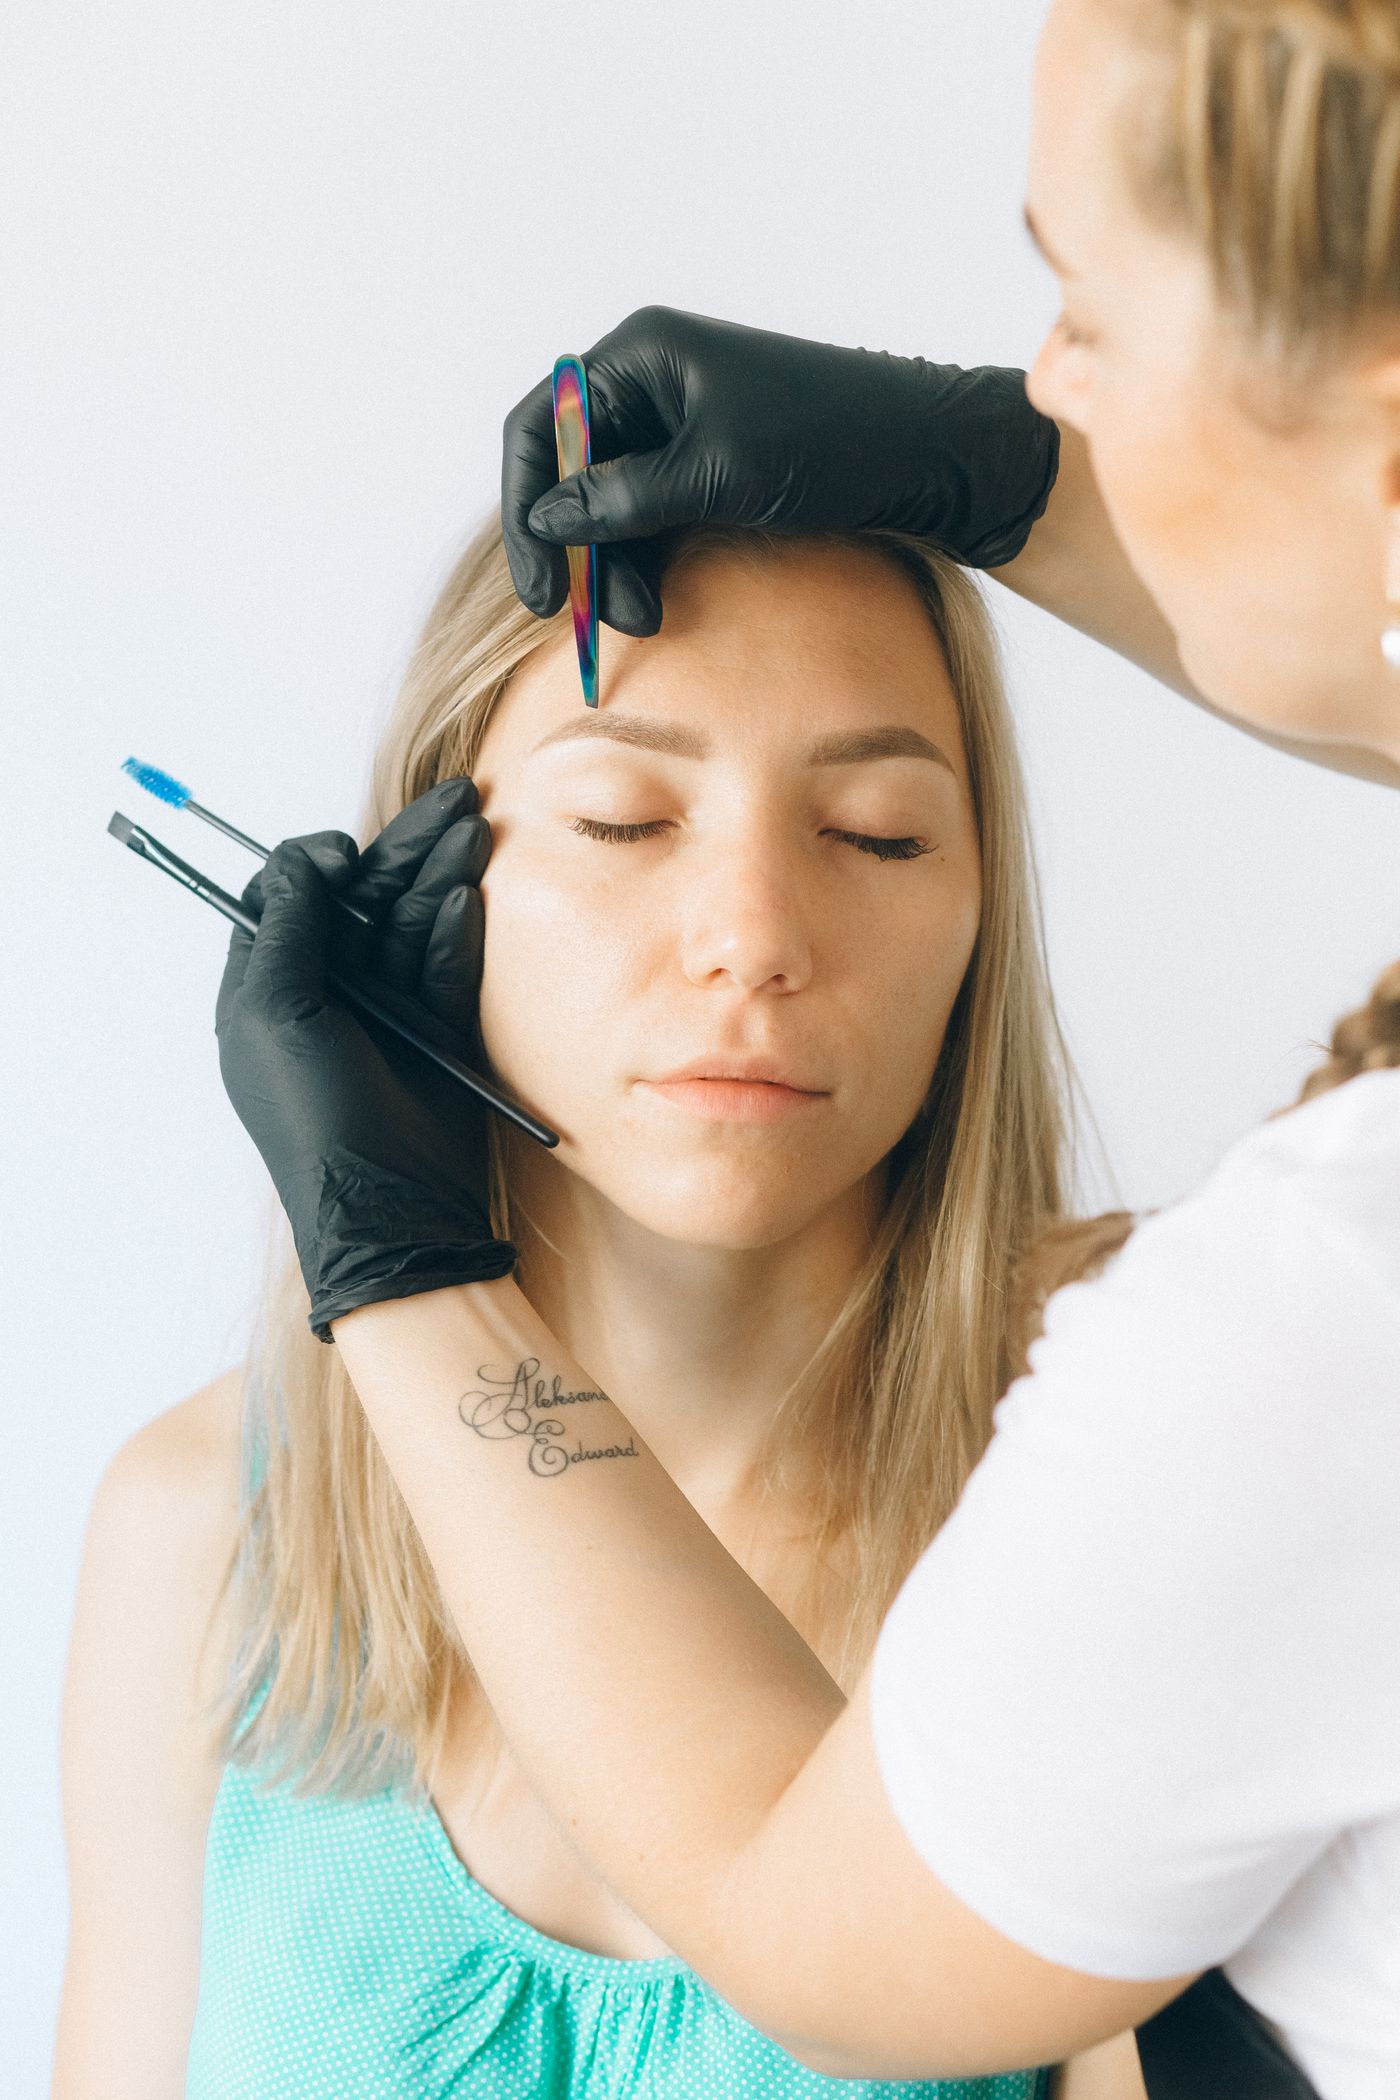
Plate V
A trainer’s teaching shows in the work of the students they supervised. The Student Work gallery is grouped by course, so you can move from a course to genuine student work in that same technique.
RELATED READING
Choosing a Cosmetic Tattoo Course: what to weigh up besides the syllabus.
Cosmetic Tattoo Training Guide: how practical training is usually structured.
Student Tips for Cosmetic Tattoo Training: how to get more from feedback.
Cosmetic Tattoo Course FAQ: short answers before you enquire.
Plate VI
Tell us which technique you are considering and ask who teaches it and what their experience is. For anything else, use the contact page.