Microblading looks effortless in a finished brow and feels anything but on a practice skin. This guide explains what learning it actually involves: the hair-stroke fundamentals, the drills that build control, the mistakes almost every beginner makes, and why not every client’s skin suits the technique.
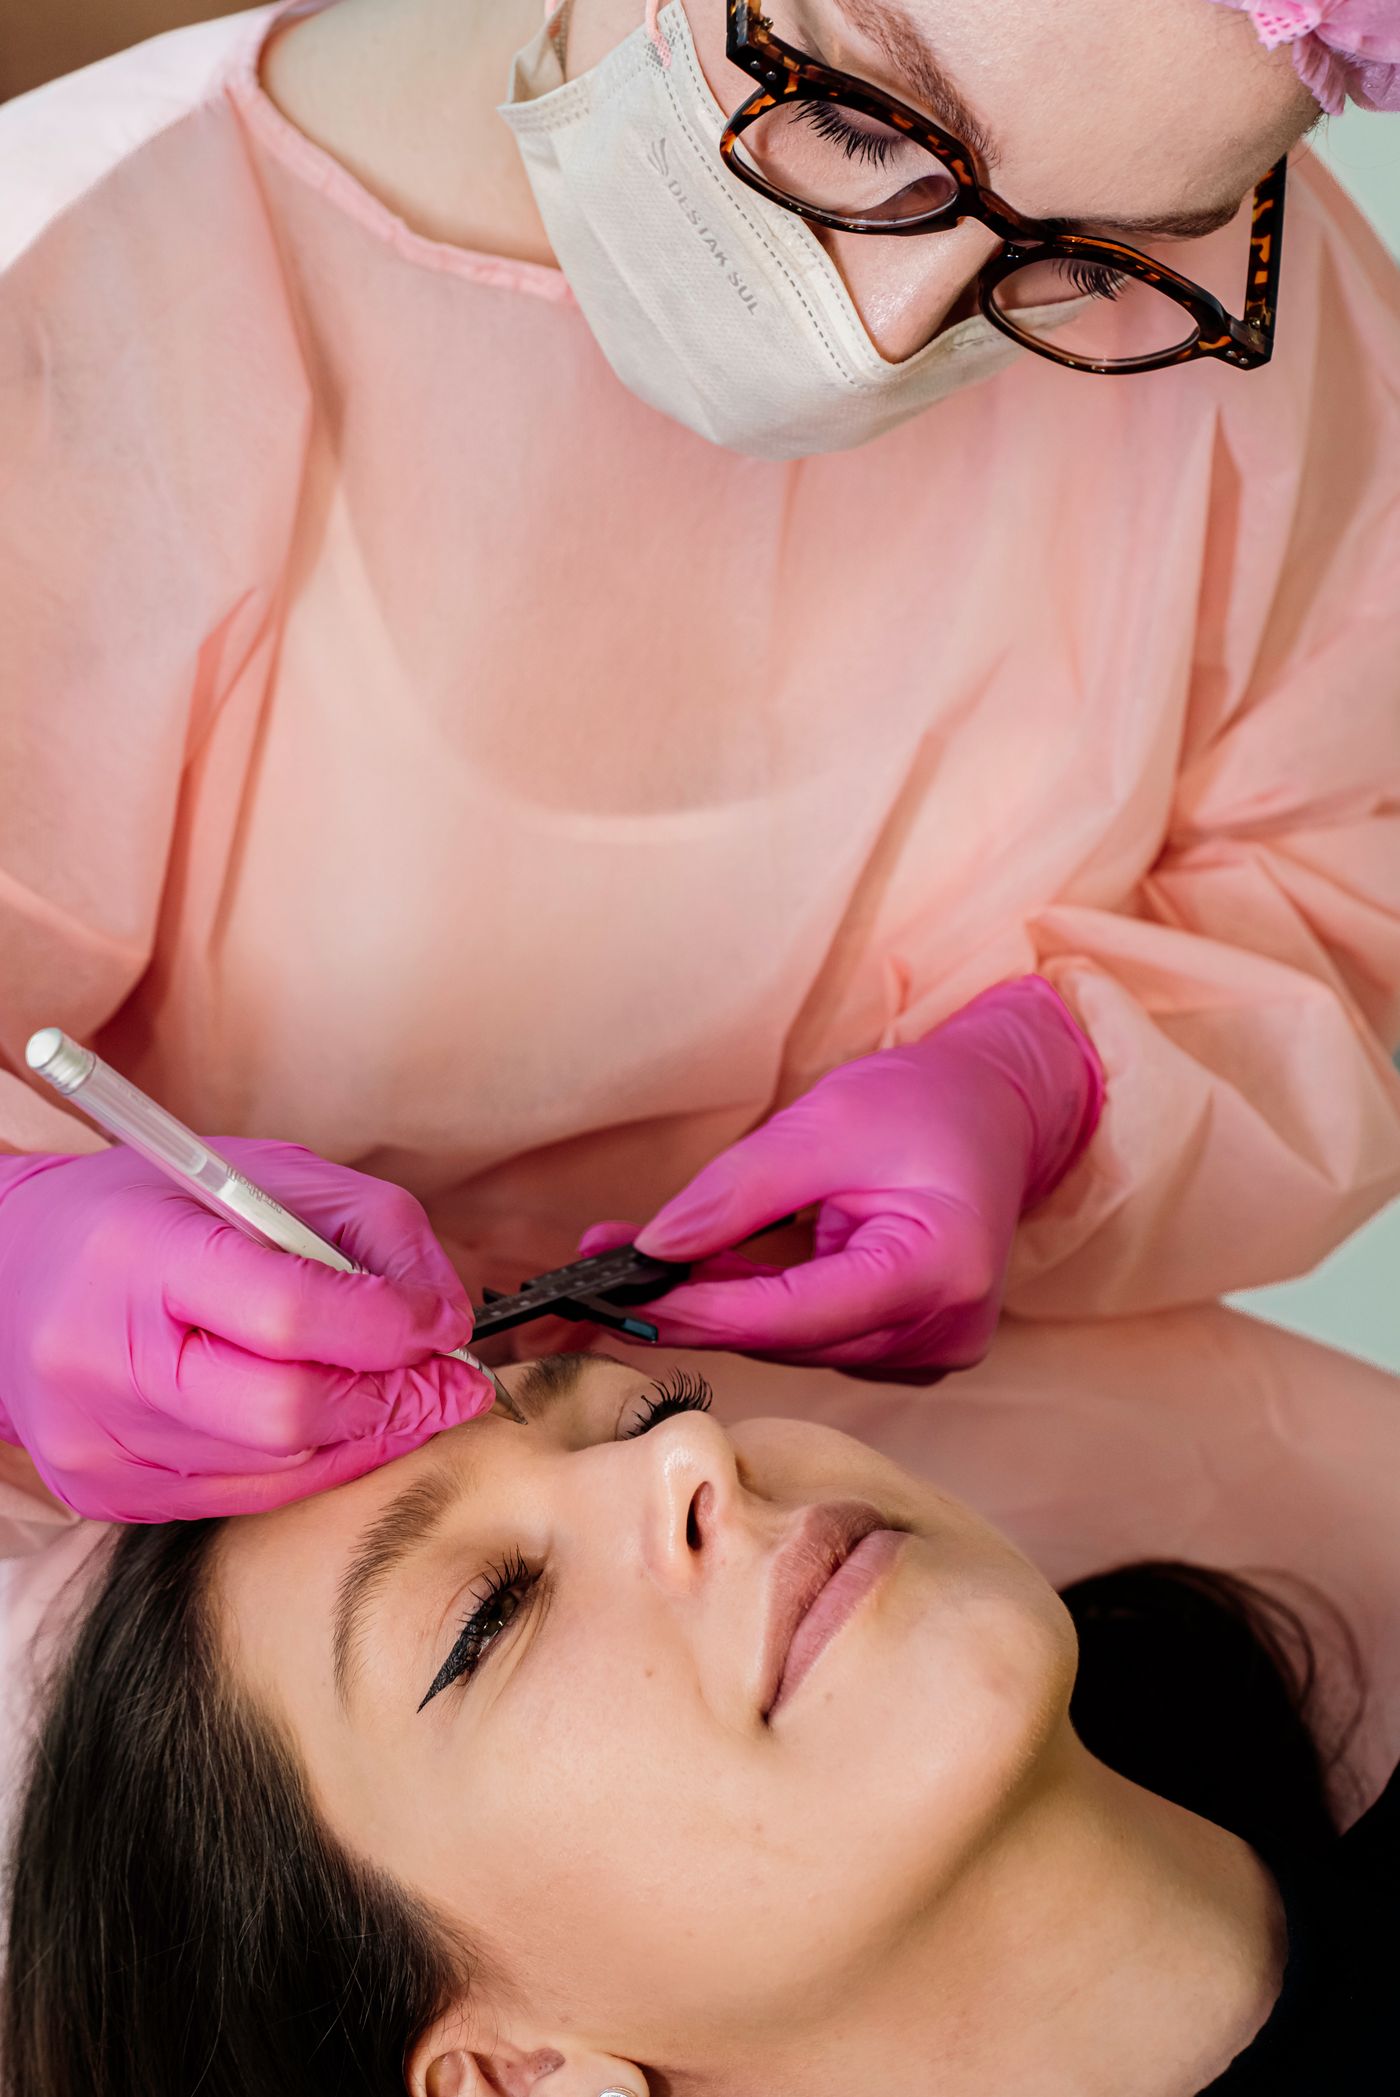
BEFORE YOU BEGIN · A CHECKLIST
i. Expect hours on latex before any live model.
ii. Learn brow mapping first; strokes follow the map.
iii. Practise hygiene and glove changes as part of every drill.
iv. Keep every practice skin to track your progress.
v. Check your state and local council rules before you take clients.
Microblading places fine, crisp strokes into the upper layers of the skin to imitate individual brow hairs. Training starts by breaking a single stroke into three controls, each practised until it becomes automatic.
Natural brow hair grows upward at the front, then sweeps outward and down towards the tail. Students learn to set a stroke pattern that follows that flow rather than drawing parallel lines.
Too shallow and the stroke fades; too deep and it blurs. Consistent, even pressure through the whole stroke is the skill that takes the longest to develop.
Strokes need room between them to heal as distinct hairs. Curve, length and taper are what separate a realistic brow from a stamped one.
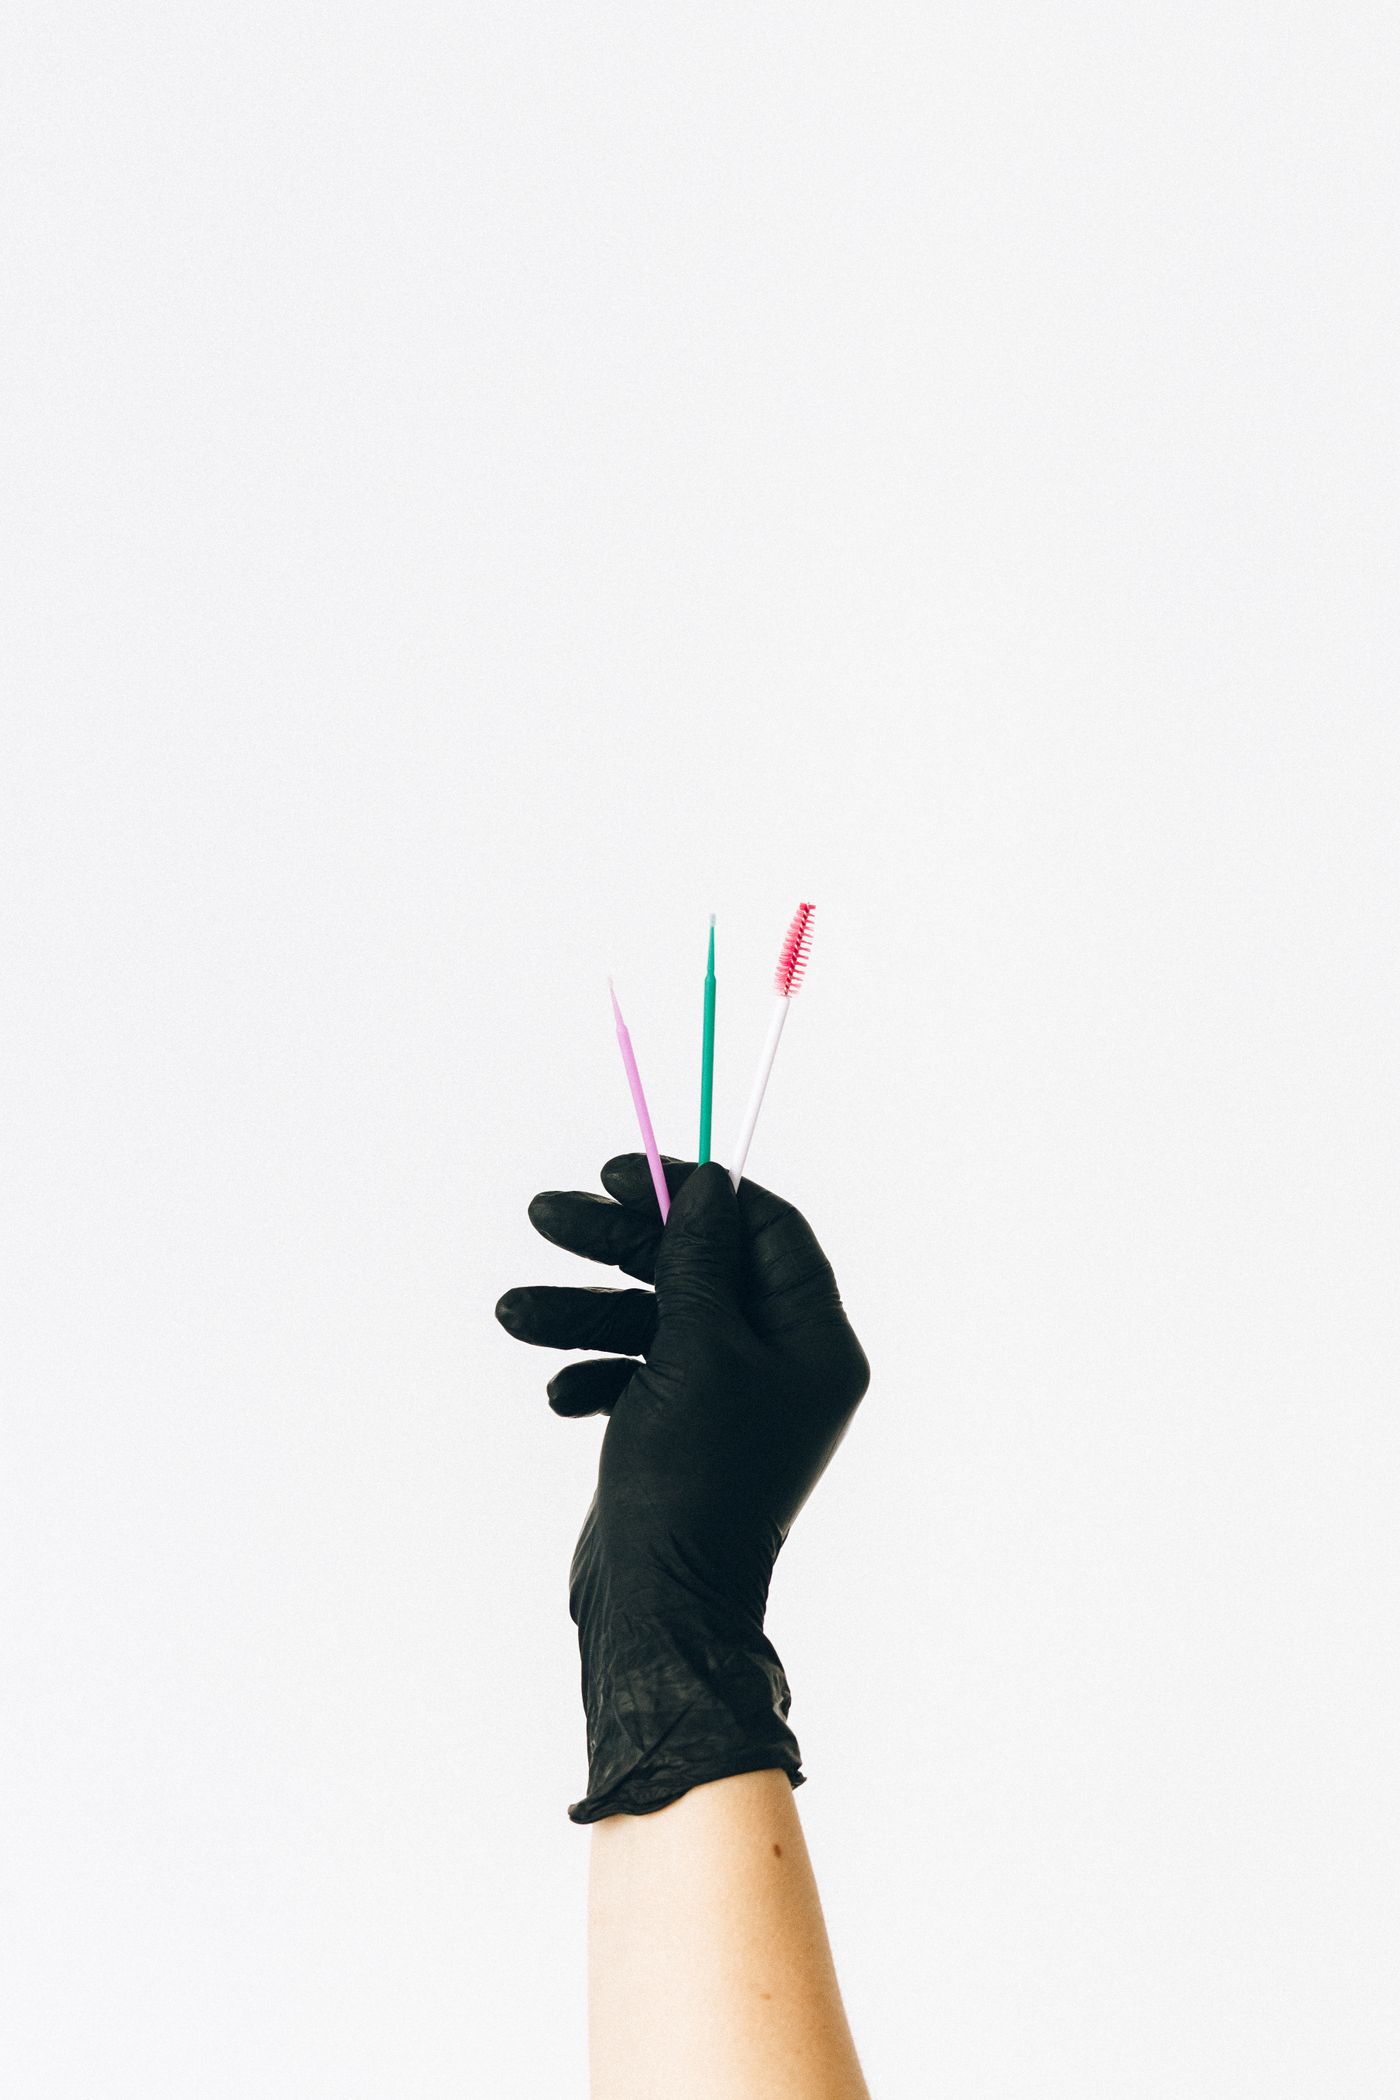
Latex practice skins let you repeat a stroke hundreds of times without risk to anyone. A typical progression moves from isolated lines to full brows:
01 Straight lines of equal length and pressure.
02 Curved strokes in both directions, with a clean taper.
03 Stroke patterns: front, body and tail of the brow.
04 A full mapped brow, then a matching pair.
Hand position, stretching the skin and your own posture are practised alongside the strokes. Our student tips cover how to get more from each session.
Most early errors come from rushing. Each has a simple correction a trainer will look for.
Cutting too deep.
Strokes blur and heal grey. Lighten the pressure and let repetition build colour.
Crowding strokes.
Lines placed too close merge as they heal into a solid block.
Skipping the map.
Freehand brows drift out of symmetry. Measure, mark and check before any stroke.
Uneven hand speed.
Fast starts and slow finishes leave heavy heads and faint tails.
Moving to models too soon.
Confidence on latex should come first; live skin behaves differently.
Part of learning microblading is learning when not to use it. Hair strokes hold best on skin that retains fine detail. Very oily skin, enlarged pores or thin, sensitive skin can cause strokes to soften or spread as they heal.
Training teaches you to assess skin at consultation, to recognise when a client should seek medical advice first, and to suggest an alternative such as a shaded brow. That is why many artists learn microblading alongside powder techniques; see Powder Brows Training Explained.
NOTE · CONSULTATION
Skin type, healing history and the client’s expectations all shape the choice of technique. A good consultation is part of the technique, not a formality before it.
03 Microblading Course: hair-stroke brow training.
02 Eyebrow Tattoo Course: brow techniques more broadly.
Choosing a Cosmetic Tattoo Course · Cosmetic Tattoo Equipment Guide
Questions first? Contact us or read the FAQ.