Finishing a course is where a career starts, not where it ends. This guide sets out the usual paths after training: working in an established salon, opening a studio, building a portfolio clients can trust, adding techniques one at a time and continuing to learn. Every path is different, and none comes with a fixed income. What they have in common is steady, well-documented work.
II
Most new artists take one of three routes. Some move between them over a few years. None is better than the others. The right one depends on how much support you want early on, how much business risk you’re comfortable with and whether you already have a beauty clientele. Before you commit to any of them, check the skin penetration and premises rules with your state health department and local council.
Salons and clinics already have bookings, equipment and hygiene systems in place. That leaves you free to concentrate on technique and consultations. Expect to show your portfolio and possibly a practical demonstration before you’re offered a chair.
Running your own studio gives you control over your pricing, hours and the way your work looks. It also means handling premises approval, insurance, infection control, marketing and client records yourself. Many artists build experience somewhere else before taking this step.
Brow stylists, lash artists and makeup artists often add cosmetic tattooing to the services they already offer. Existing clients make it easier to get started. Every treatment still needs a careful consultation and aftercare plan.
Salon owners and clients look for consistency more than the odd perfect brow. Photograph every piece the same way: daylight or neutral light, the same angle and distance, and no filters. Take a shot before the treatment, one straight after and another once it has healed. Healed results show how you really work with pigment and skin.
Record which technique you used, with the client’s written permission to share the images. Group your portfolio by area of the face so a reader can compare like with like. That’s how our Student Work gallery is organised.
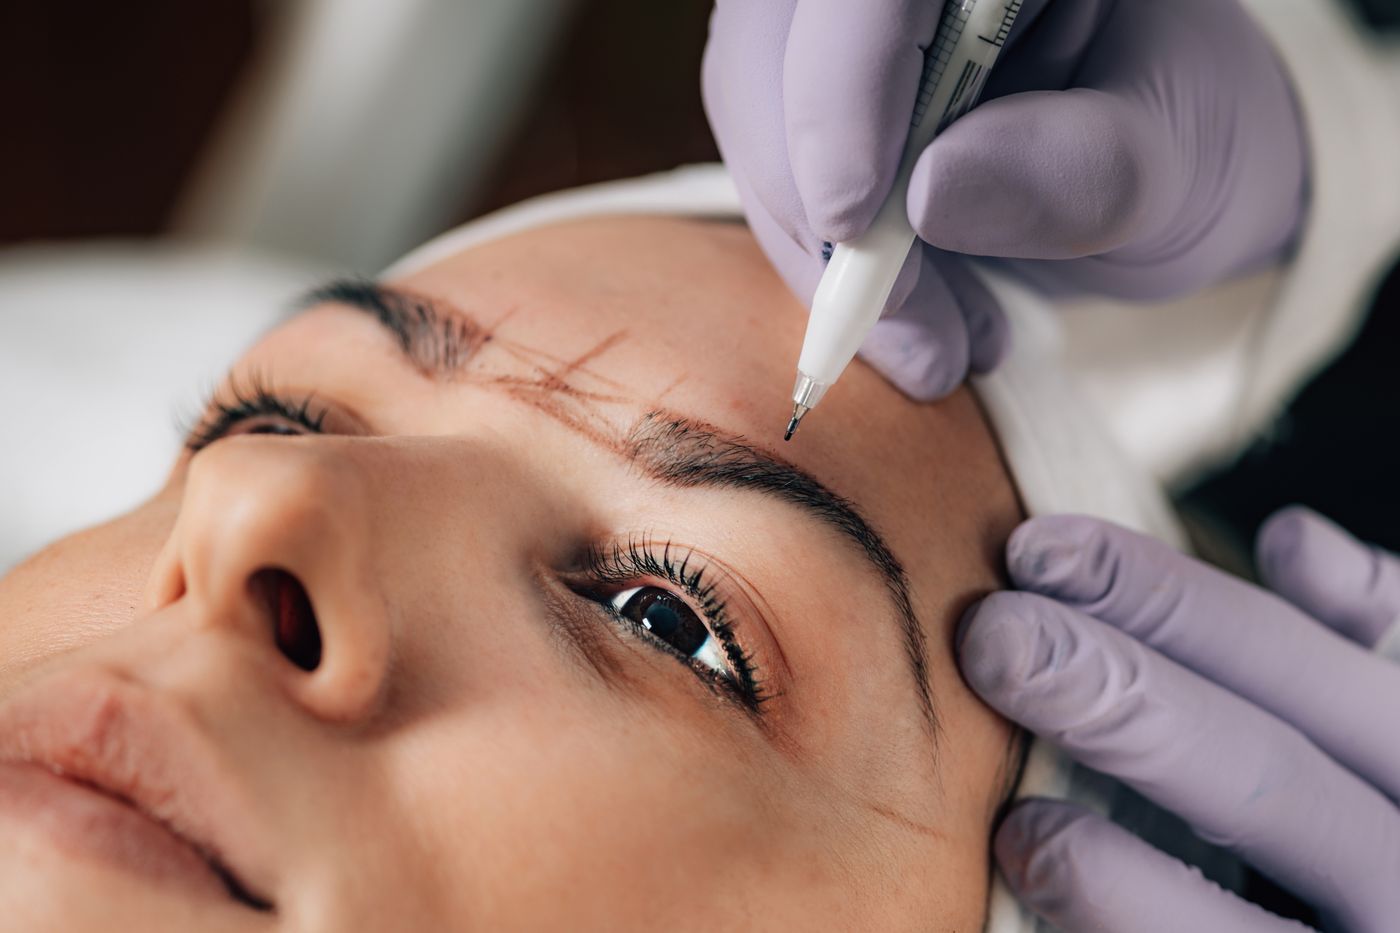
Most careers grow outwards from a single technique. Get healed brows consistent before you move on to lips or eyes, because each area has its own anatomy, skin behaviour and client expectations. Add specialist skills in a planned order, and let your portfolio show when you’re ready.
V
i. Keep drilling on practice skins between clients, especially when you change needles or pigments.
ii. Review healed photos every few months and write down what you’d change.
iii. Check your hygiene practice against current state and council requirements.
iv. Understand your tools before you upgrade them. The equipment guide explains what each one does.
v. Learn from experienced artists. You can read about our trainers and their approach to teaching.
Ready to choose your first technique? Send a course enquiry. For anything else, contact us.